Connect with Vercel
On this page
You can connect any of your Vercel projects with your SingleStore Helios workspaces using the SingleStore Helios - Vercel integration.
Prerequisites
-
A Vercel account.
Connect Vercel to SingleStore Helios
Set up a Vercel Project
On the Vercel Dashboard, create a new project.
Connect to your SingleStore Helios Workspace
Once your Vercel project is deployed, perform the following tasks:
-
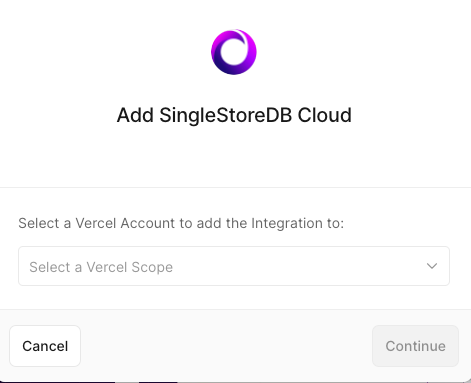
Go to the SingleStore Helios - Vercel integration page, and select Add Integration.
-
On the Add SingleStoreDB Cloud dialog, select your Vercel account in which to add the integration, and then select Continue.
-
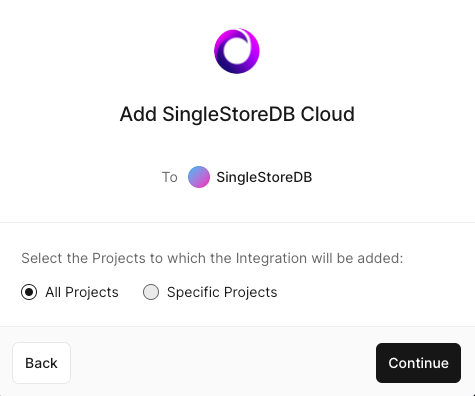
Select the project(s) to integrate with your workspace, and then select Continue.
-
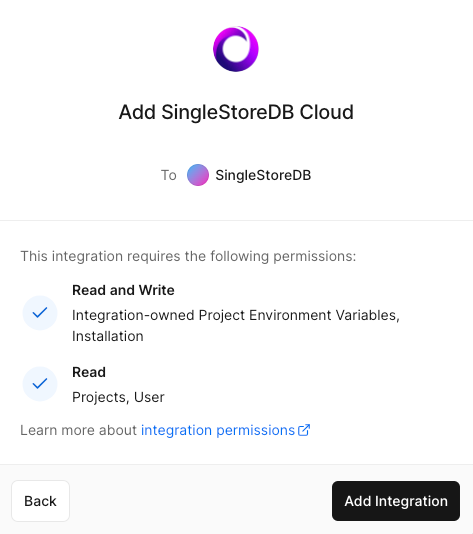
Verify the permissions, and select Add Integration.
-
In the dialog that opens, log in or sign up for the Cloud Portal.
-
If you have already created a workspace, select it from the Workspace list, and then select Connect.
If there aren't any active workspaces, you can create a new workspace and then select it.
Your Vercel project is now connected to your workspace.
-
SINGLESTORE_WORKSPACE_ HOST -
SINGLESTORE_WORKSPACE_ USERNAME -
SINGLESTORE_WORKSPACE_ PASSWORD
Build and Deploy
There are multiple options available for building and deploying your application.
var SingleStoreClient = require('@singlestore/http-client');var instance = SingleStoreClient.ApiClient.instance;var BasicAuth = instance.authentications['BasicAuth'];BasicAuth.username = process.env.SINGLESTORE_WORKSPACE_USERNAME;BasicAuth.password = process.env.SINGLESTORE_WORKSPACE_PASSWORD;instance.basePath = 'https://' + process.env.SINGLESTORE_WORKSPACE_HOST;// Get the API handle. var api = new SingleStoreClient.HttpApi();export default function handler(req, res) {api.rows({queryInput: {database: 'mydatabase',sql: 'SELECT * FROM purchases LIMIT 200;'}}).then(dbResponse => {res.send(dbResponse.results[0].rows);}).catch(err => {res.send(err);});}
Refer to Connect to Your Workspace for additional connectivity options that suit your application stack.
Last modified: November 1, 2023